

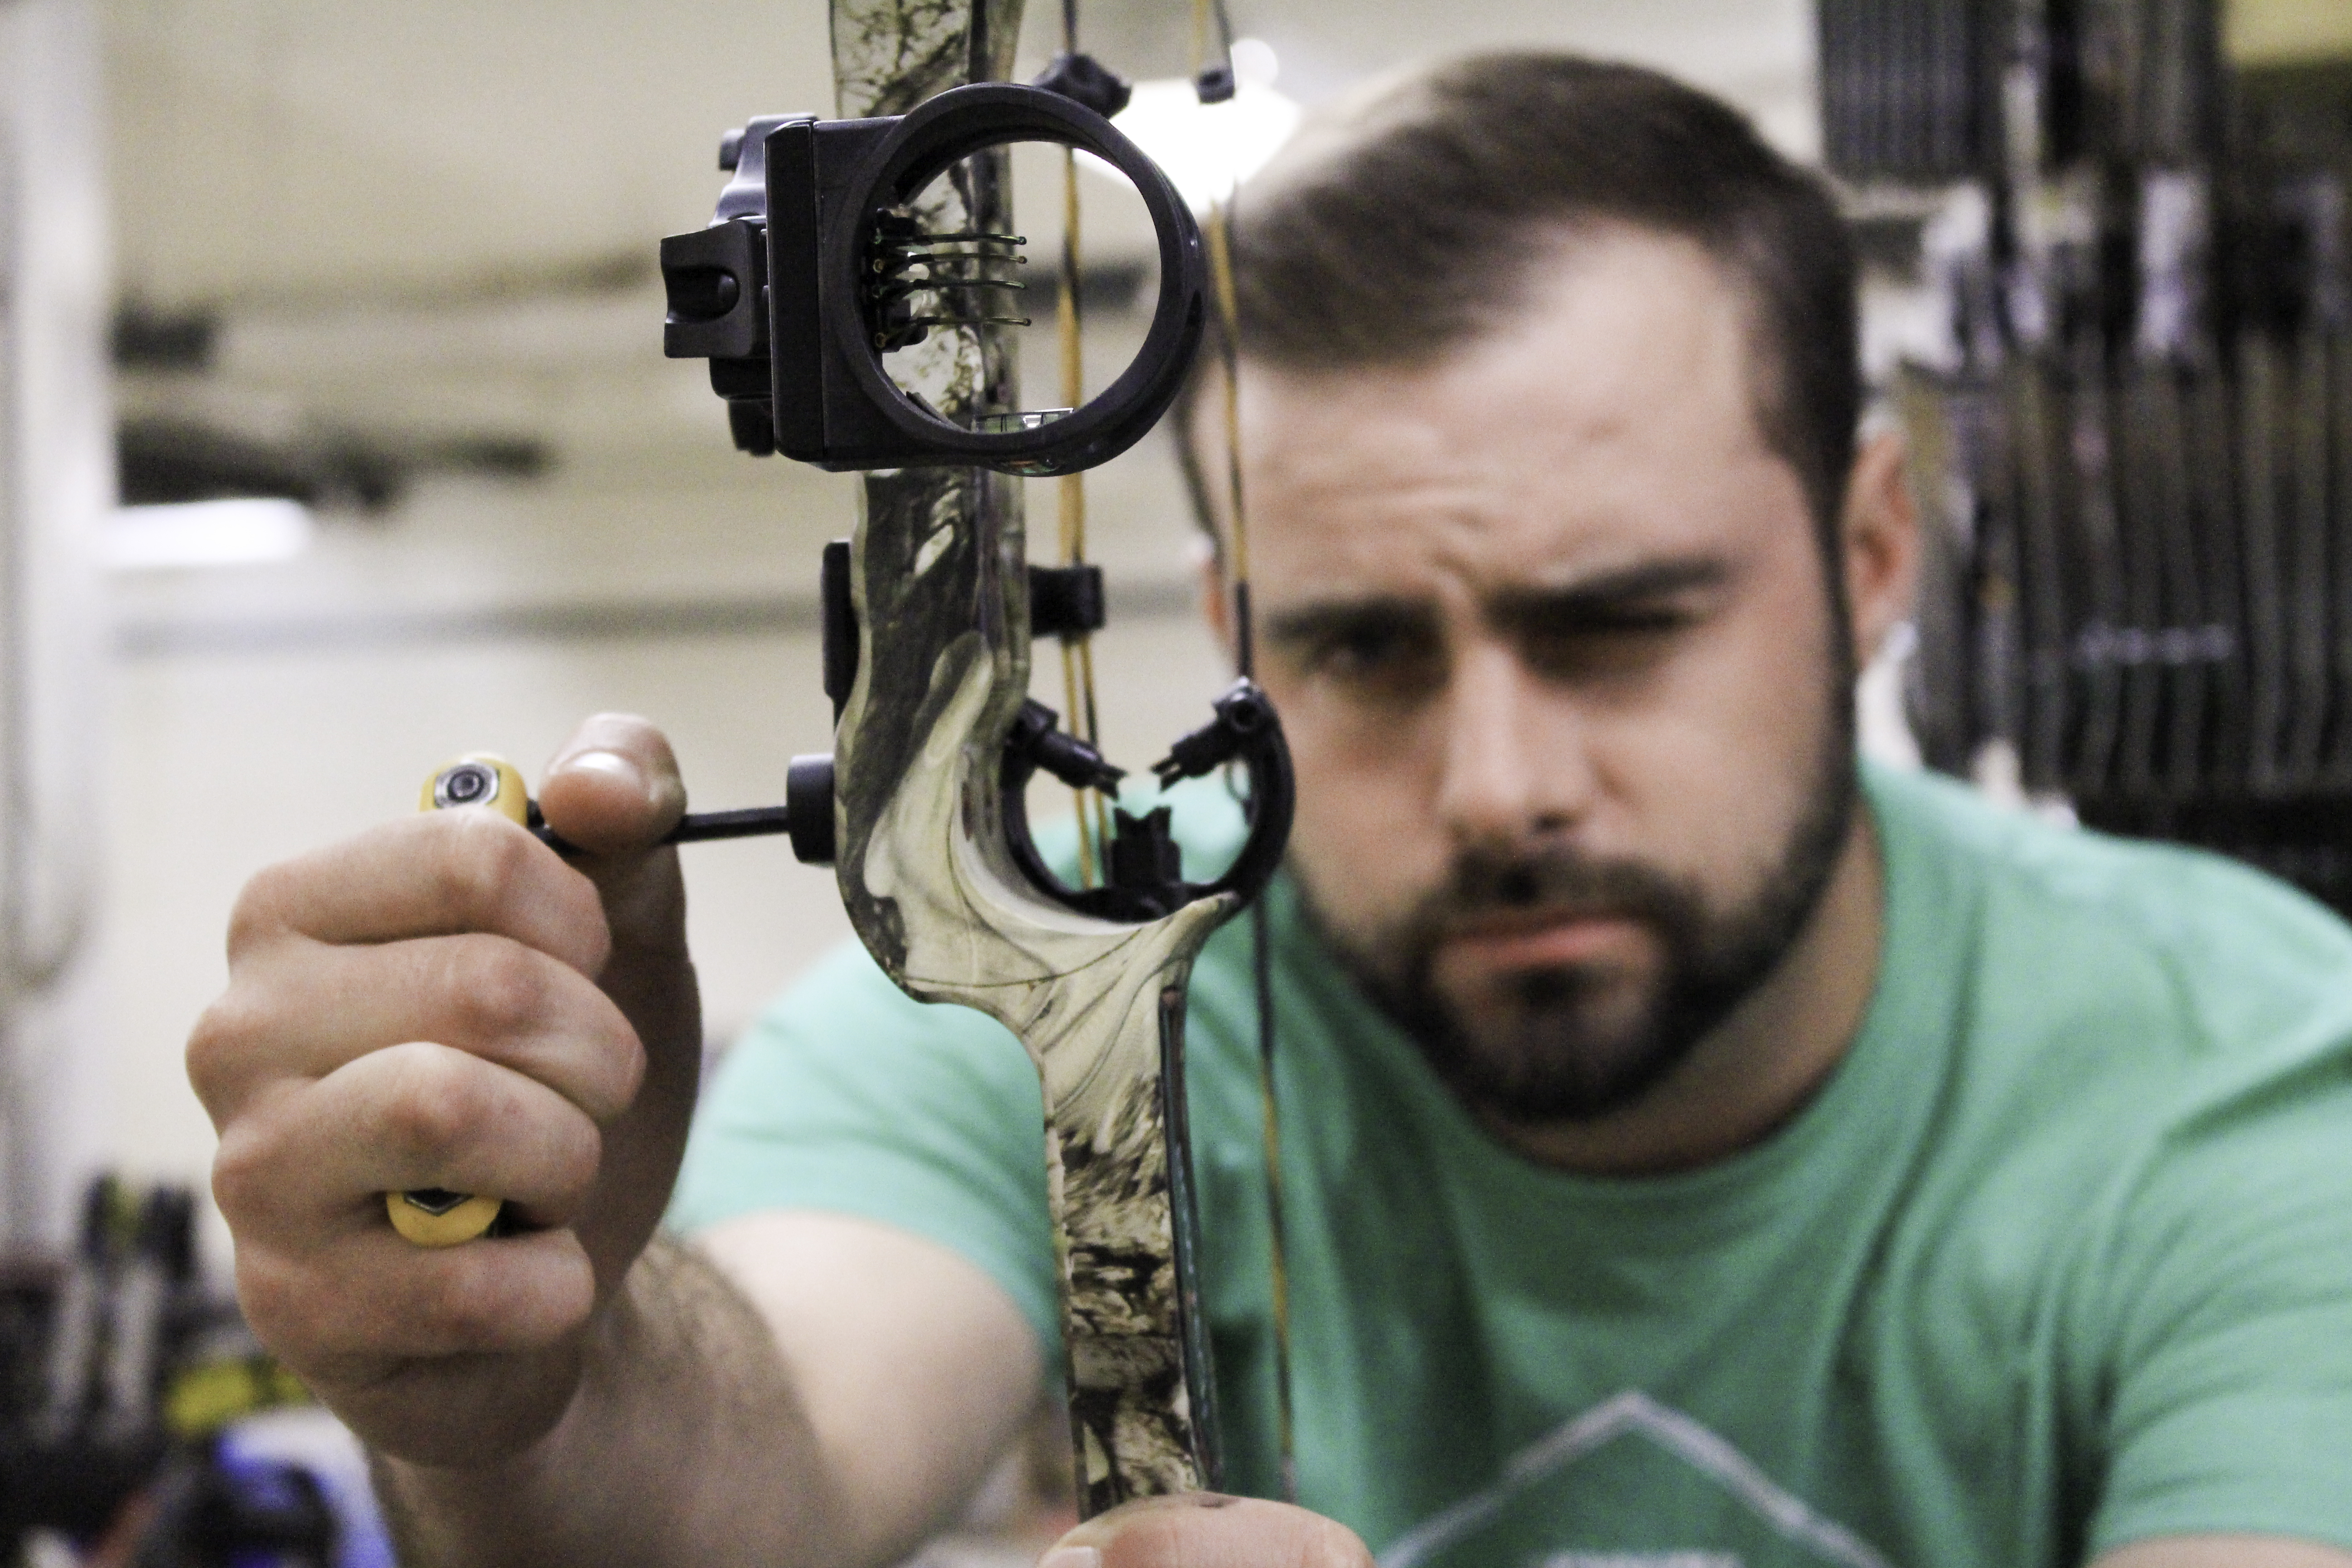
DIY Basic Bow Setup
If everyone was a professional bow technician I would be out of a job pretty fast, however I think every archery and bowhunter should have some basic knowledge when it comes to properly setting up your hunting or target bow. The following information should give you the confidence to install a new rest or bow sight and maybe do some basic tuning to get your arrows flying correctly. The goal here is to be able to work on your equipment when the time calls for it whether you just want to try or it’s out of necessity.
Equipment Needed:
- 1.Bow Vise
- 2.Bow Press
- 3.Nocking Pliers
- 4.Small Serving or 8190 Bowstring Material
- 5.Brass Nocks of Nock Tie Thread
- 6.Arrow Levels and Bow Levels
- 7.No. 24 Poly D-Loop Material
- 8.STD Allen Keys (Maybe Torx, Metric, or other sizes
Step one: Set Your Draw Length and Draw Weight
Whether you’re setting up a new bow from scratch out of the box or resetting up an older bow that’s seen a few thousand shots, you need to check out all of its moving parts. Checking basic things like the tiller height and making sure the draw length modules are in matching spots on both cams are often over looked and can cause shooting problems later on. If you are setting up an older bow with old strings I would recommend you get them replaced with good quality strings and make sure your bow is reset back to factory specs and the cams are timed correctly. To set the draw weight do equal rotations on both limb bolts; I find it easiest to count them off, if you do two full rotations on the top make sure you do two full rotations on the bottom. It’s pretty straightforward but it can be a headache if it is not done correctly. On most bows you set the draw length by changing the module position on the cam or changing the module itself to a different size. There are a few bows out there that have what we call “draw length specific” cams, meaning the bows draw length can only be adjusted by putting a different size cam on it. Generally new cams are expensive and sometimes you have to purchase a new set of strings as well to make the cams fit correctly. If you are purchasing a used bow make sure you know your draw length and the bows draw length, try to avoid purchasing any used bow that requires a cam change.
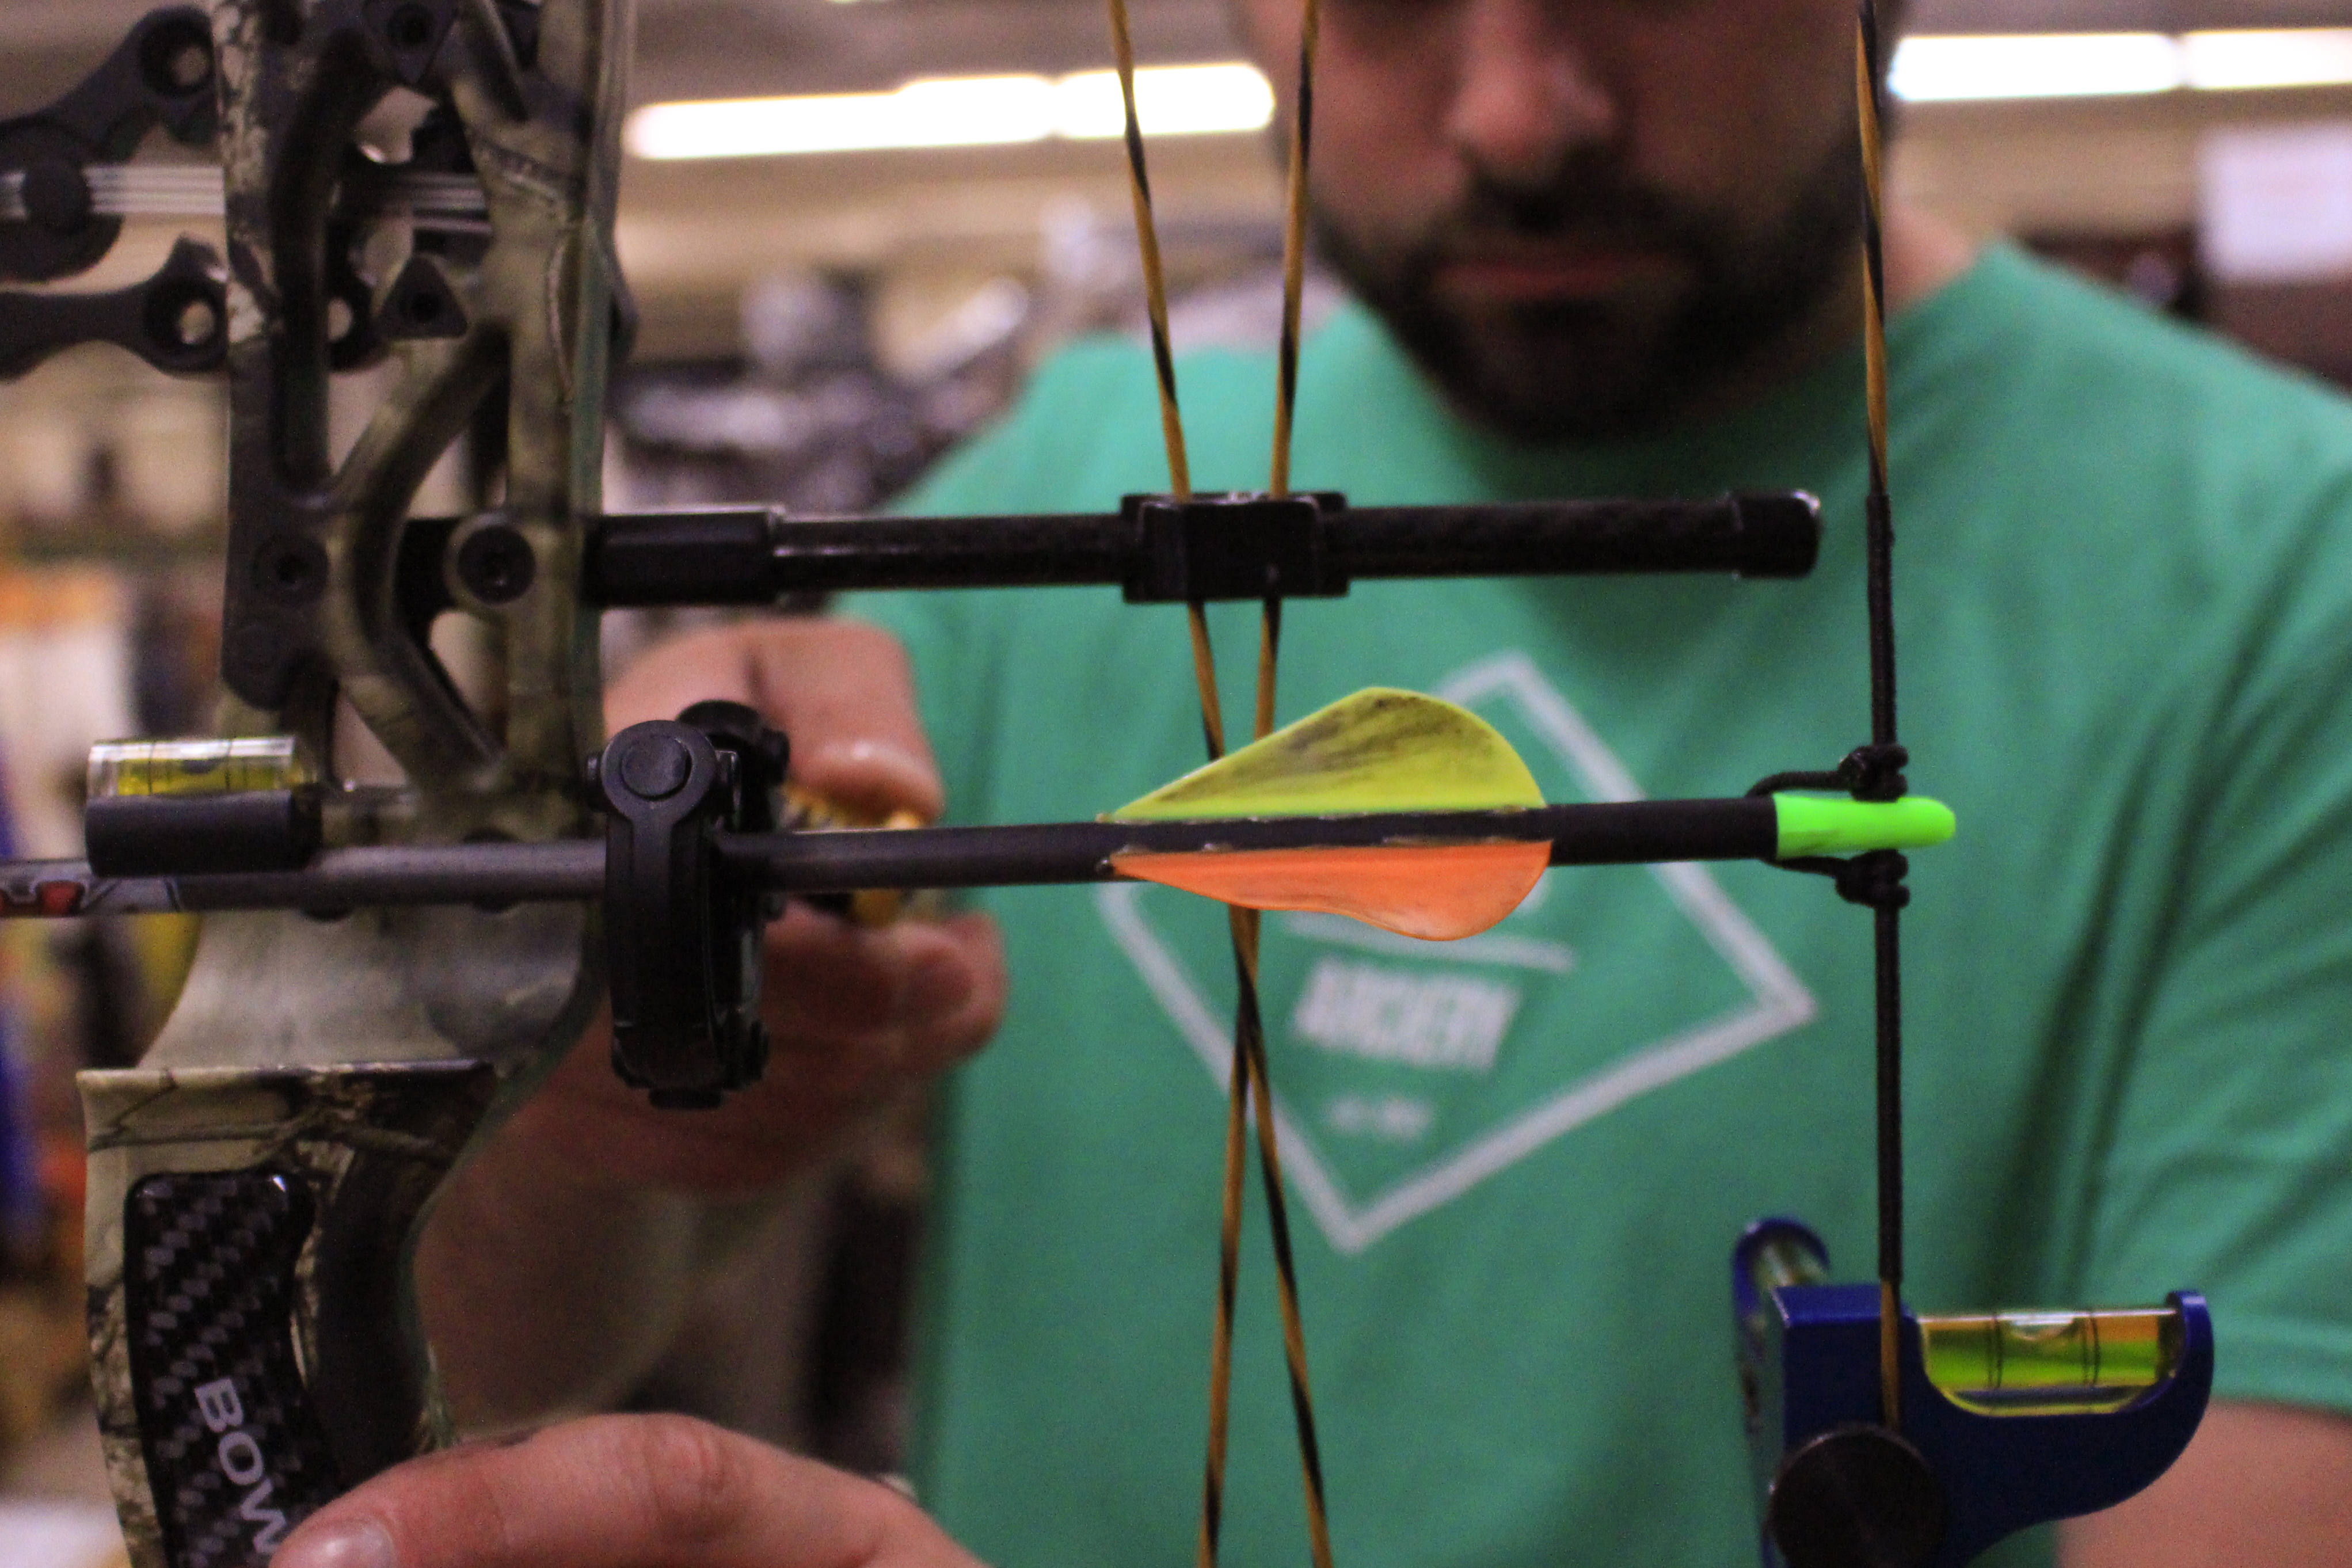
Step two: Rest, Nock Height, Centershot
Setting up your arrow rest is extremely important since it literally guides the arrow toward the target, mess this part up and you might as well hang up your bow. Lucky for you it’s pretty straightforward and with the right tools doesn’t take very long to do correctly. Starting by placing your bow in the vise and bolt on your arrow rest of choice, you want your rest to be sitting square with the edge of the bow riser so you don’t run into contact issues when you adjust the rest height later on. Next attach your string level to the bowstring and adjust the vise until the bow is sitting level. Now its’ time to set our nock height and center shot, I like to set the center shot first, which is the left and right position of the arrow rest. First I stand straight behind the bow and center the bowstring on the middle of the bow grip and the bow riser then I move the rest in or out until the bow string lines up with the center of the rest. The thing to remember here is that this is a guideline for most bows and not the correct place for every bow. Many manufacturers will recommend certain center shot measurements and it is always a good idea to check with them before you start. Now setting your nock height is simple as long as we keep some things in mind. Check that your string level is still showing the bow is sitting level, next the arrow you are going to be shooting and place it in the rest and on the bow string, attach the arrow level to that arrow and adjust the nock end until the arrow is straight on the string and rest. Clamp on your nock or tie in your nock point and you are done. A couple things we need to keep in mind setting the nock point, where is your arrow sitting on the bow, ideally it should run straight through the rest mounting hole (or plunger hole), if it is too high or low you could run into nock travel issues even when sitting level at rest. We also need to think about the type of arrow rest being used, if you are using a full containment or drop away rest setting the nock height to be perfectly level is usually best. When you are using a shoot through prong rest of a spring steel style target rest you might find having the nock set slightly above center will give you the best groups and bow tune.
 |  |
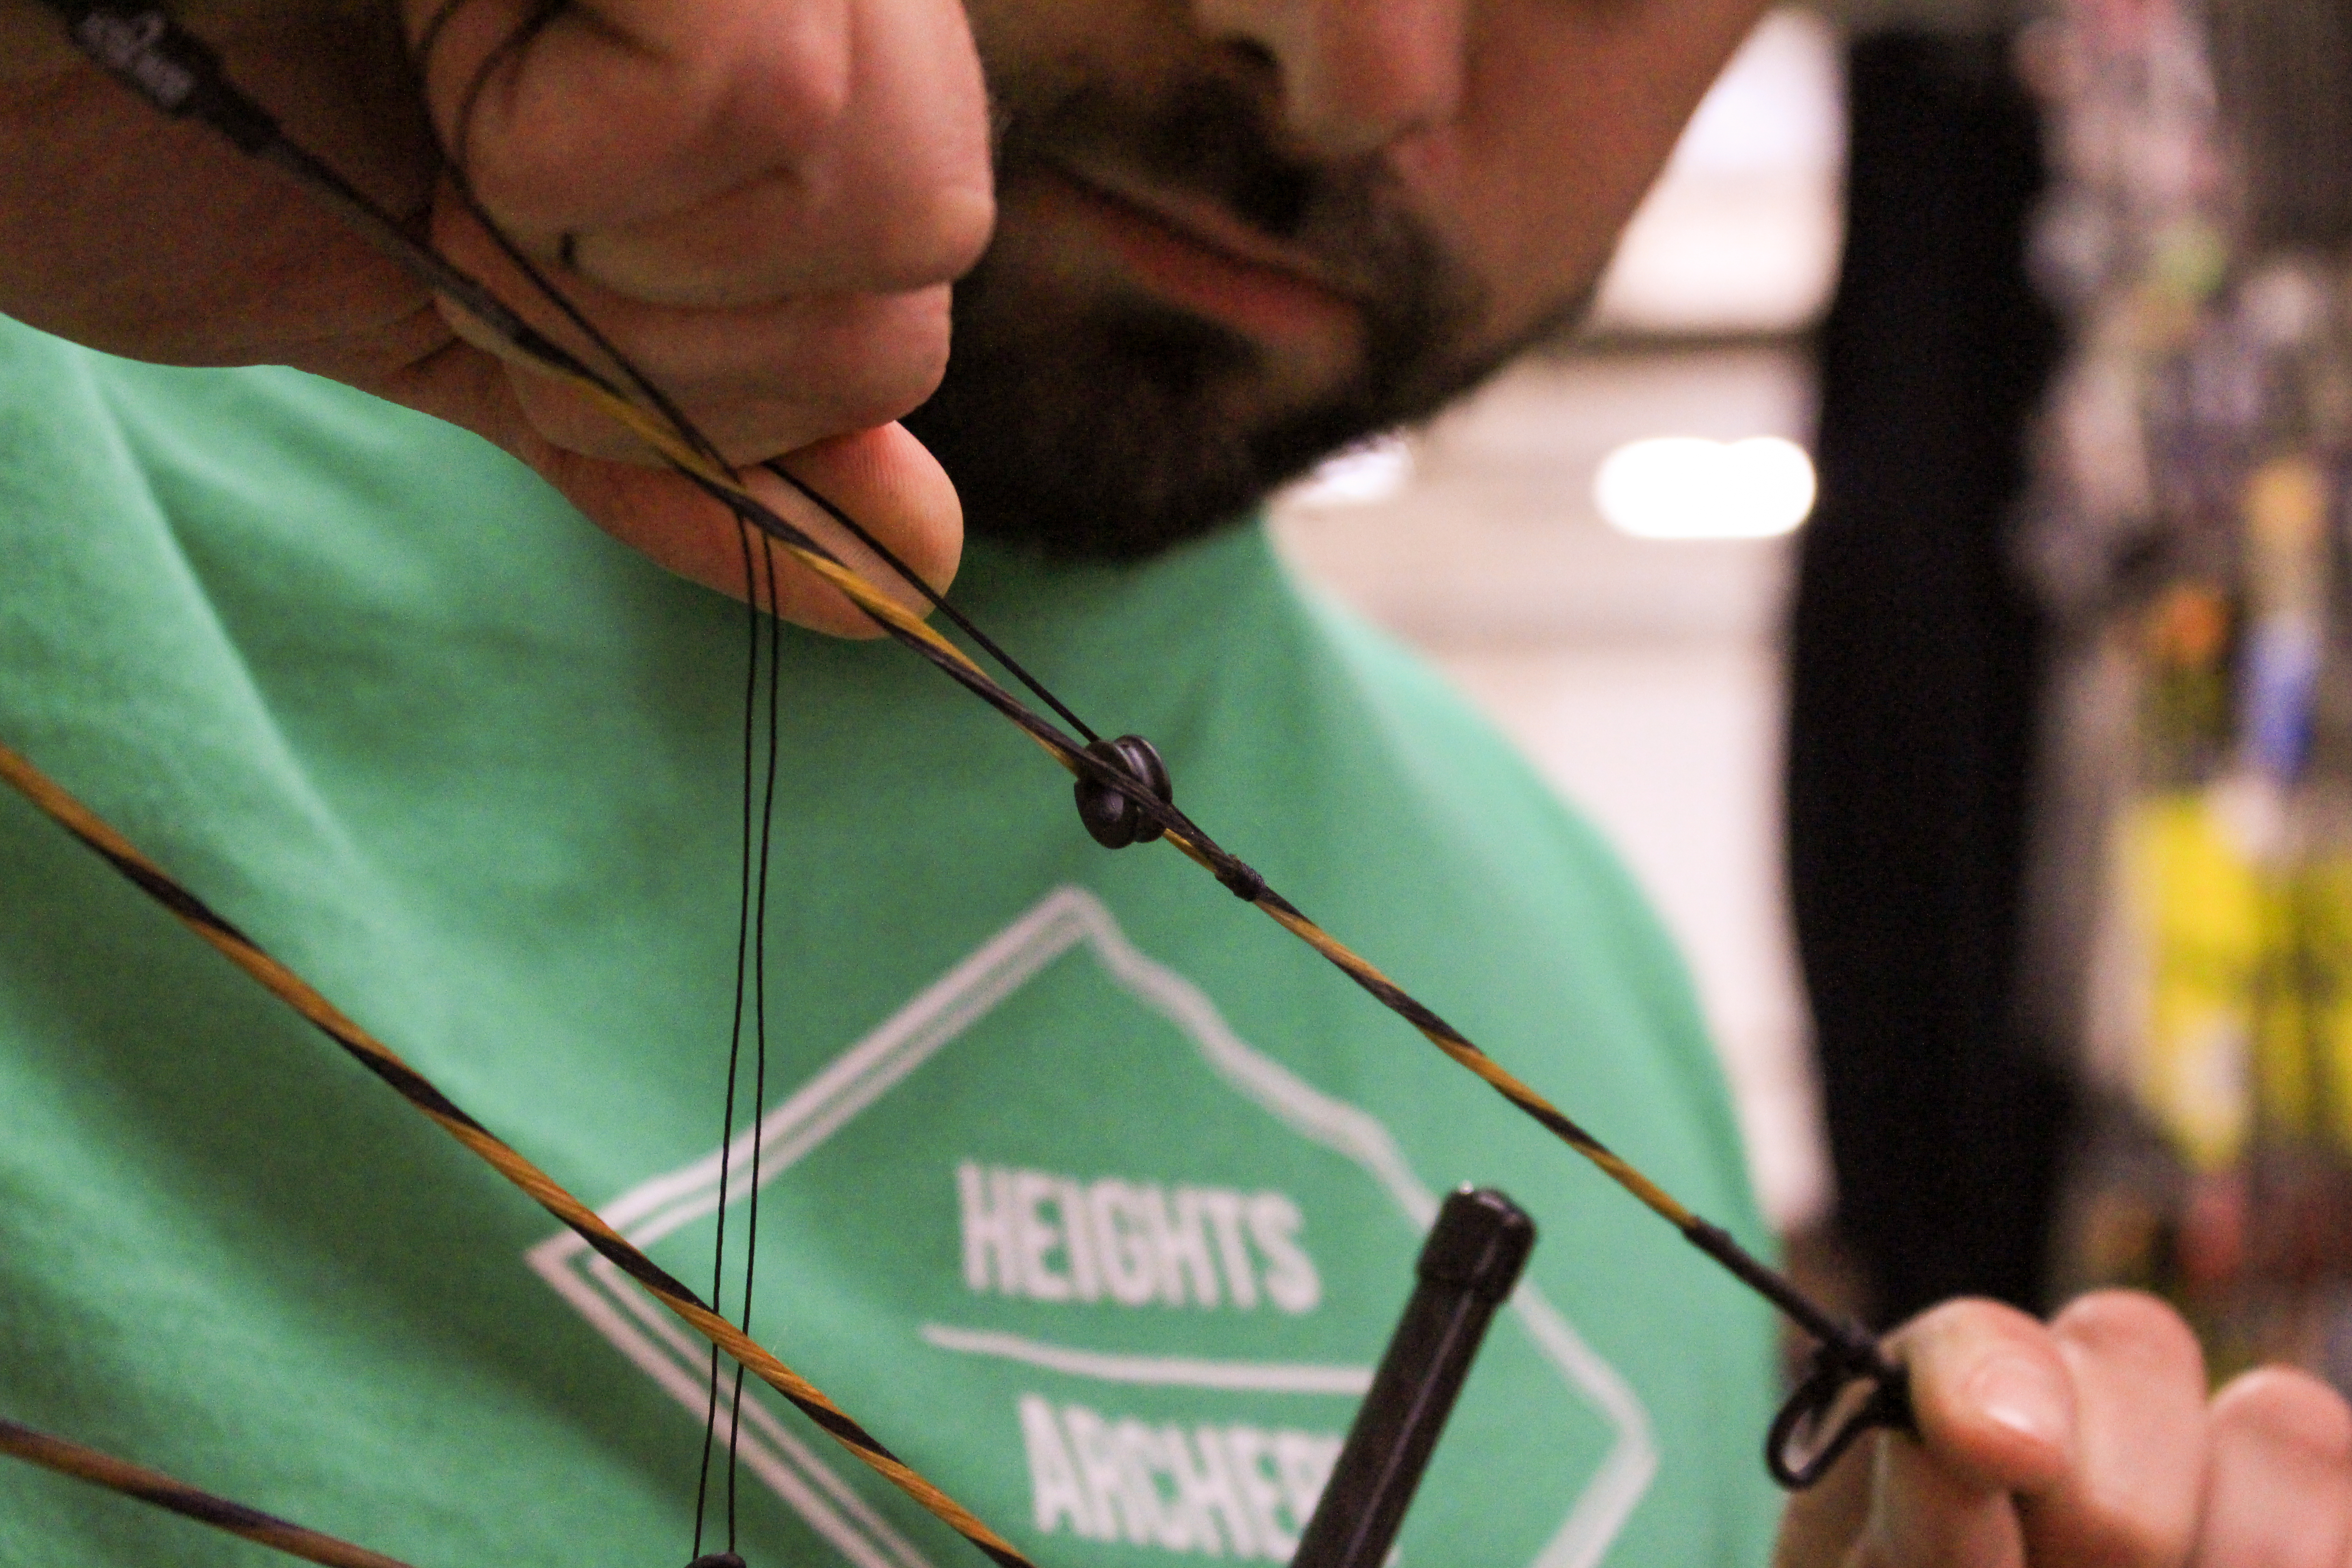
Step 3: Peep Sight and Bow Sight
Our next step(s) is two install our sight system, meaning our peep sight and front site. All bow manufacturers use a standard size for the bow sight mounting holes and hardware so you don’t need to be concerned about finding one that will fit your bow. Some sights come preassembled and just need to be mounted and others require a bit of assembly first, just consult your owners manual and you shouldn’t have any issues. I usually start by setting the elevation to center of the sight and I set the windage so the tip of the pins sit just left of the bowstring at rest when it is centered with the rest. Again, this is just a starting point and we will almost always need to make adjustments from here. Our next step is to install our peep sight, first take your bow and put it properly in the bow press and take off enough tension that you can work on the string. Split the string strands in two equal halves, meaning you need the exact equal amount of strands on either side of the peep, this is crucial especially if you are planning on using a tubeless style peep sight. As a general rule I set the peep height at about 6” from the nock point, again this is a starting place and the actual location will vary on the anchor point of the archer and the string angle and set draw length of the bow. Play with the height of your peep before you tie it in, you may even want to tie on your dloop shoot some arrows and play with the height. The quickest way I have found to do this is by drawing the bow back and anchoring with my eyes closed, then I open my eyes and see where my peep is, make the necessary adjustments and then tie in the peep sight. I am not even going to attempt to explain how to tie in a peep sight but I am sure you can find some good videos on YouTube, I will have to make my own video very soon.
|
|

Step 4: DLoop
I know you tied in a Dloop earlier to set the peep sight but you now you need to cut it off an tie a new one. The reason is that the number one cause of peep rotation problems that encounter are when Dloops and peep sights are not tied straight in line. If your peep sight is sitting straight but your Dloop is sitting off to one side or the other your peep will not come back straight when you draw the bow because the Dloop is always going to come back straight with the release. The easiest way to solve this is by tying your Dloop inline with your peep sight after you have set the peep height. What you also need to remember is that new bow strings need a settling in period, usually about 100 shots or so, it’s sometimes good to run a few arrows through your bow and then twist your string straight and tie on that Dloop. I’ll add the Dloop video to the list of things I need to do but in the mean time I think YouTube can give you a proper demonstration there.
Step 5: Add the other accessories
The last step is pretty basic, just bolt on the rest of your accessories like your quiver and stabilizer set-up. Most quivers mount to the back of the sight bracket or directly to the bow riser itself, Allen keys are all that is needed it. Your stabilizer is hand tightened in to the front of the riser just underneath the grip and again this is an industry standard size so no need to worry about being brand specific.
So that is a basic bow setup and hopefully something you feel confident in trying yourself sometime, of course we are always happy to help if you would still prefer a professionals touch.